OneLogin (SAML)
OneLogin provides SSO identity management. Cloudflare Access supports OneLogin as an SAML identity provider.
-
Log in to your OneLogin admin portal.
-
Select Apps > Add Apps.
-
Under Find Applications, search for Cloudflare Access.
-
Select the result sponsored by Cloudflare, Inc. You can customize the name or logo.
-
Select Save. You can change this information at any time.
-
Select the Configuration tab.
-
In the Cloudflare Access Authorization Domain field, paste your team domain:
https://<your-team-name>.cloudflareaccess.comYou can find your team name in Zero Trust under Settings > Custom Pages.
-
Select the Parameters tab, select Add Parameter and enter your values for Cloudflare Access Field.
-
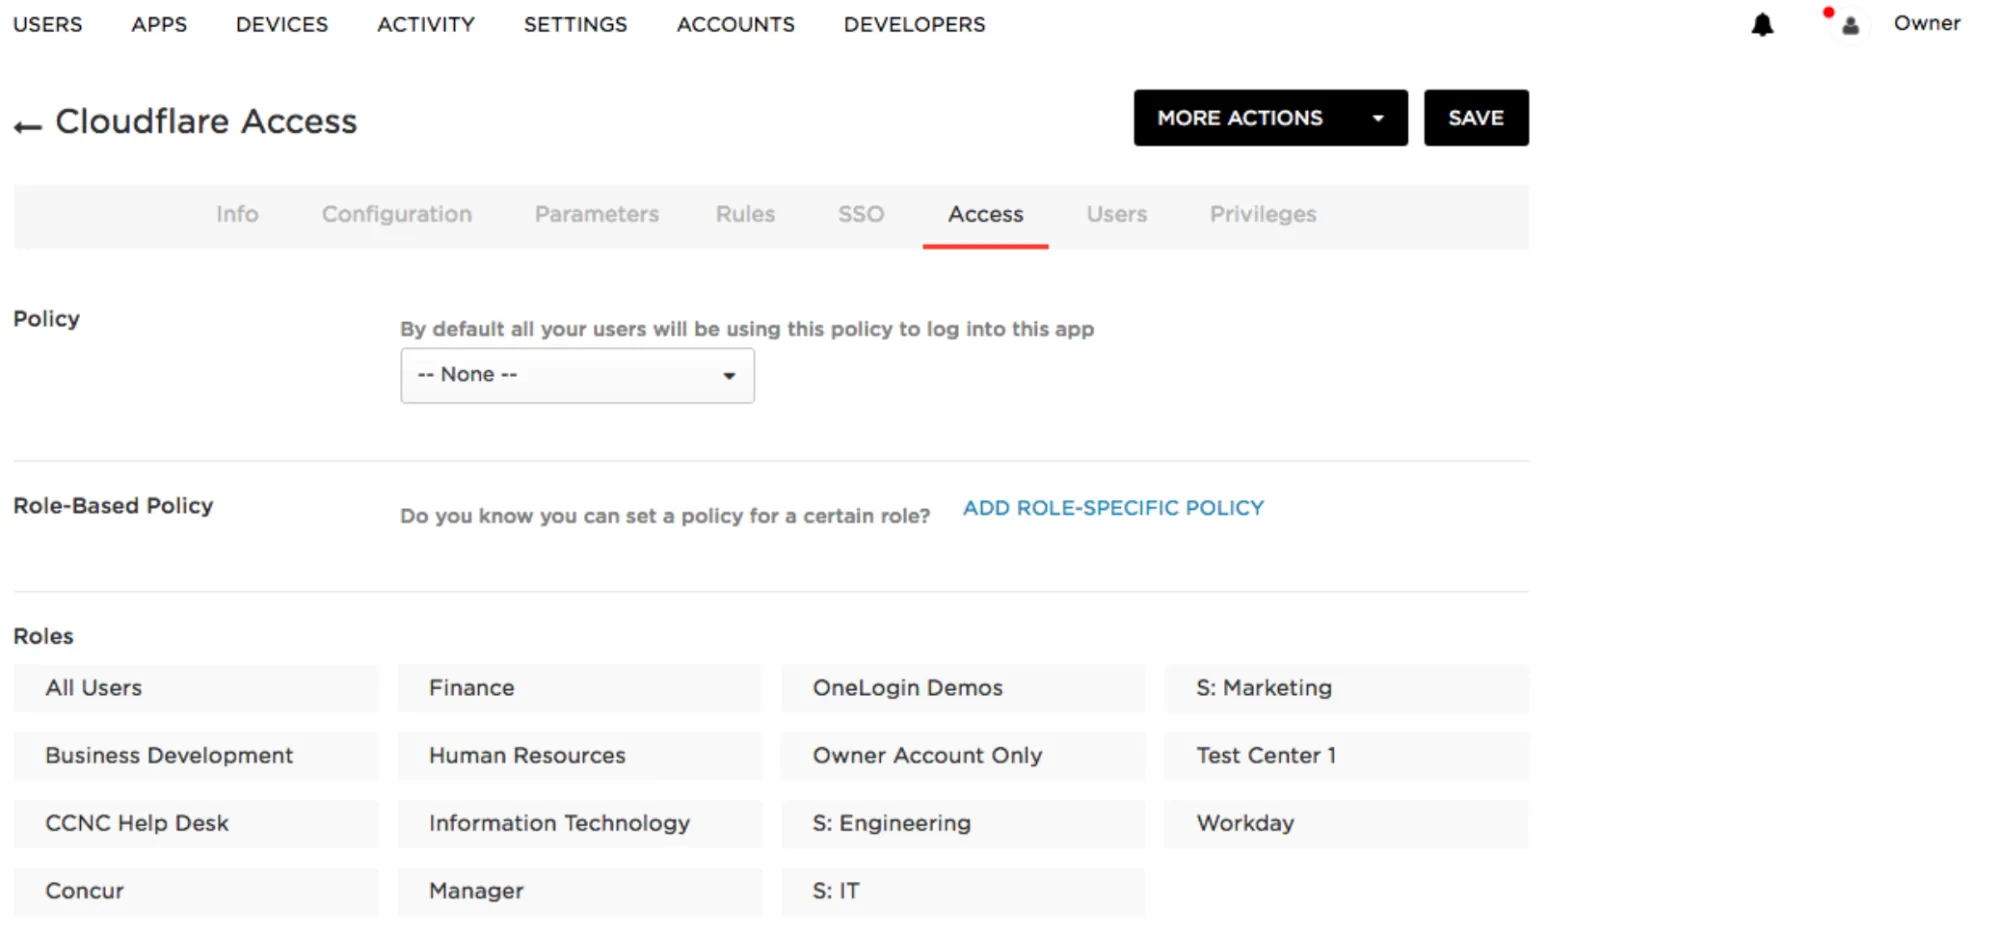
Select the Access tab
-
In Roles, use the mapping to programmatically and automatically assign users that can access the application.

-
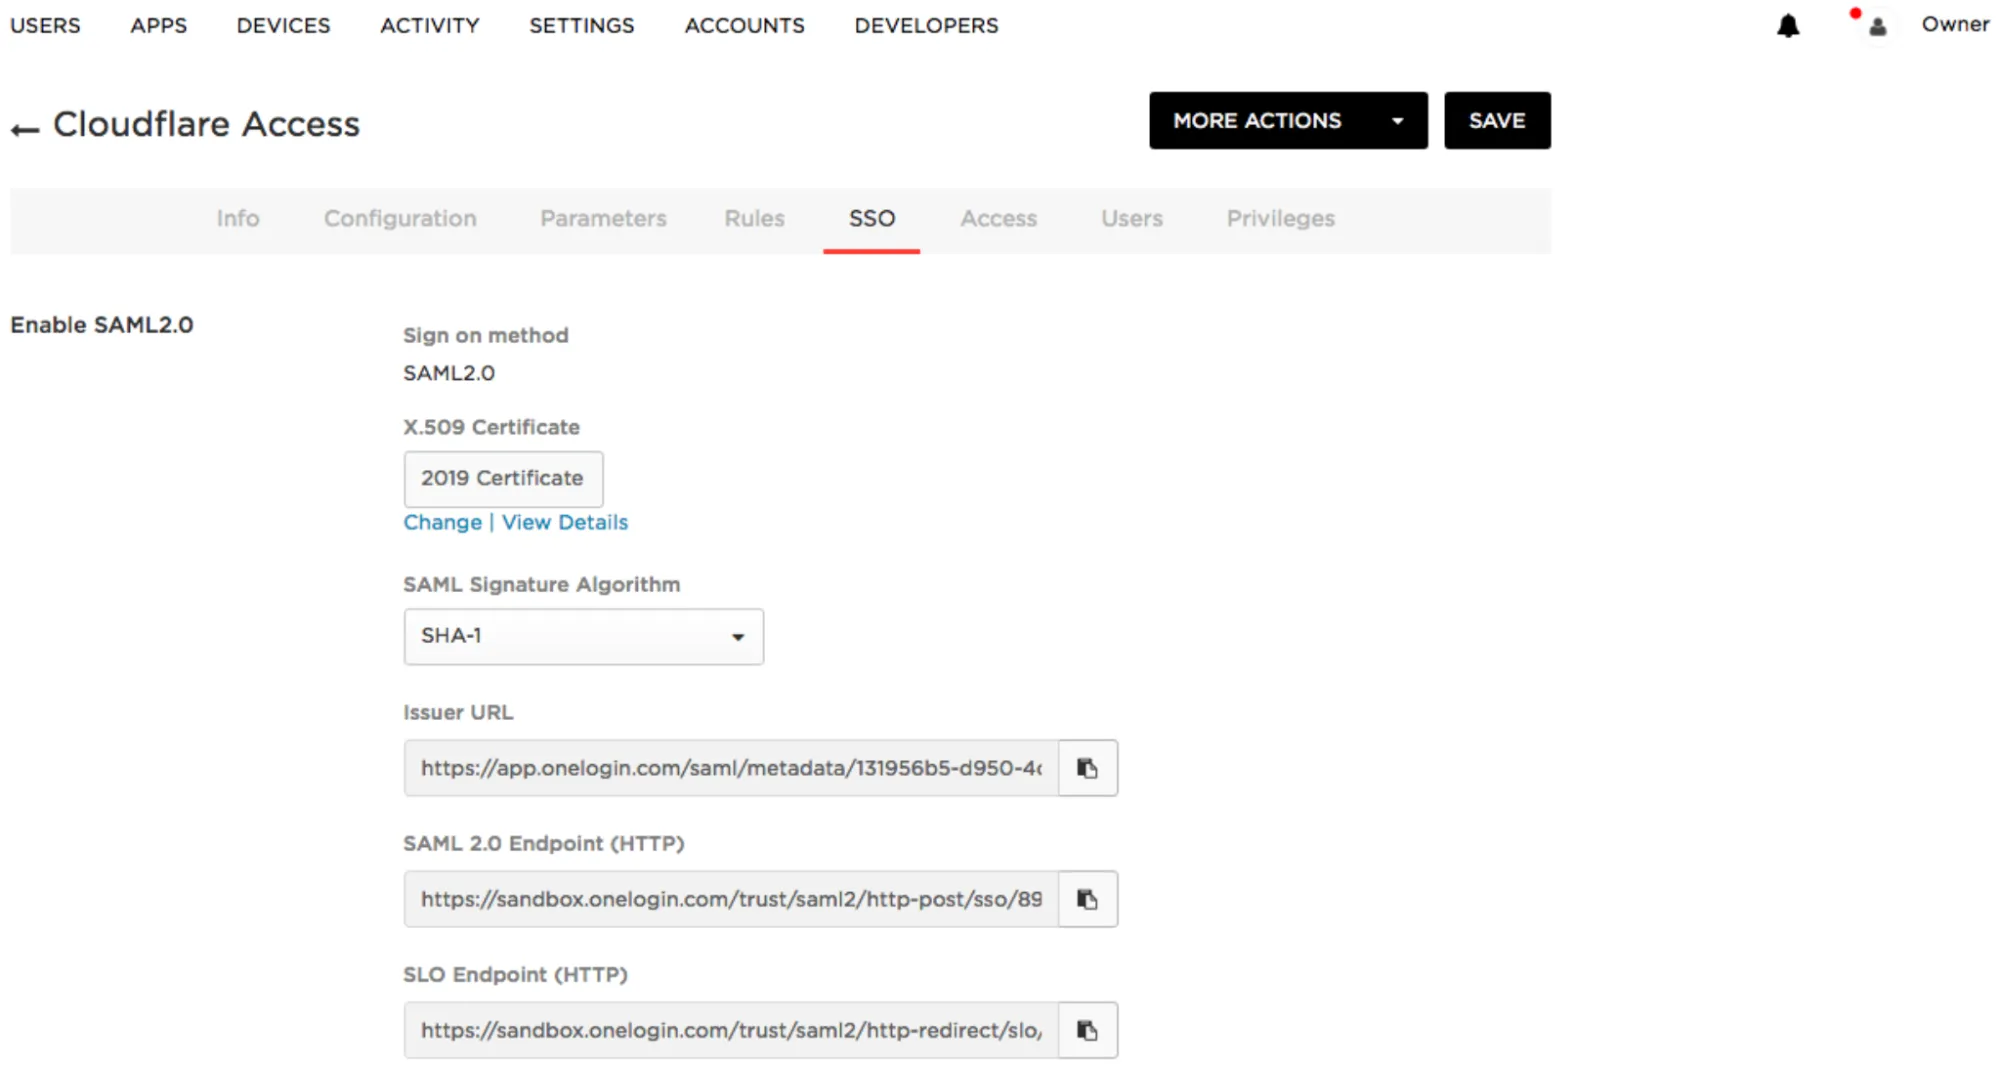
Select the SSO tab.
-
Copy the OneLogin SAML 2.0 Endpoint (HTTP) to the Cloudflare Single Sign On URL.
-
Copy the OneLogin Issuer URL to the Cloudflare IdP Entity ID.
-
Copy the X.509 Certificate to the Cloudflare Signing Certificate.

-
In Zero Trust ↗, go to Settings > Authentication.
-
Under Login methods, select Add new.
-
Select SAML.
-
Input the details from your OneLogin account in the fields.
-
(Optional) To enable SCIM, refer to Synchronize users and groups.
-
(Optional) Under Optional configurations, configure additional SAML options. If you added other SAML headers and attribute names to OneLogin, be sure to add them to Cloudflare.
-
Select Save.
To test that your connection is working, go to Authentication > Login methods and select Test next to the login method you want to test.
OneLogin SAML allows administrators to upload metadata files from the service provider.
To add a metadata file to your OneLogin SAML configuration:
-
Download your unique SAML metadata file at the following URL:
https://<your-team-name>.cloudflareaccess.com/cdn-cgi/access/saml-metadata -
Save the file as an XML document.
-
Upload the XML document to OneLogin.
{ "config": { "issuer_url": "https://app.onelogin.com/saml/metadata/1b84ee45-d4fa-4373-8853-abz438942123", "sso_target_url": "https://sandbox.onelogin.com/trust/saml2/http-post/sso/123456", "attributes": ["email"], "email_attribute_name": "", "sign_request": false, "idp_public_cert": "MIIDpDCCAoygAwIBAgIGAV2ka+55MA0GCSqGSIb3DQEBCwUAMIGSMQswCQYDVQQGEwJVUzETMBEG\nA1UEC.....GF/Q2/MHadws97cZg\nuTnQyuOqPuHbnN83d/2l1NSYKCbHt24o" }, "type": "saml", "name": "onelogin saml example"}