Area 1
Cloudflare Area 1 ↗ is an email security platform that protects your organization's inbox from phishing, spam, and other malicious messages. This guide covers how to configure Area 1 as a SAML application in Cloudflare Zero Trust.
- An identity provider configured in Cloudflare Zero Trust
- Admin access to your Area 1 account
- Your user's email in Area 1 matches their email in Zero Trust
-
In Zero Trust ↗, go to Access > Applications.
-
Select Add an application.
-
Select SaaS.
-
In the Application field, enter
Area 1and select Area 1. (Area 1 is not currently listed in the default drop-down menu.) -
Enter the following values for your application configuration:
Entity ID https://horizon.area1security.comAssertion Consumer Service URL https://horizon.area1security.com/api/users/samlName ID Format Email -
Configure Access policies for the application.
-
Save the application.
Finally, you will need to configure Area 1 to allow users to log in through Cloudflare Access.
-
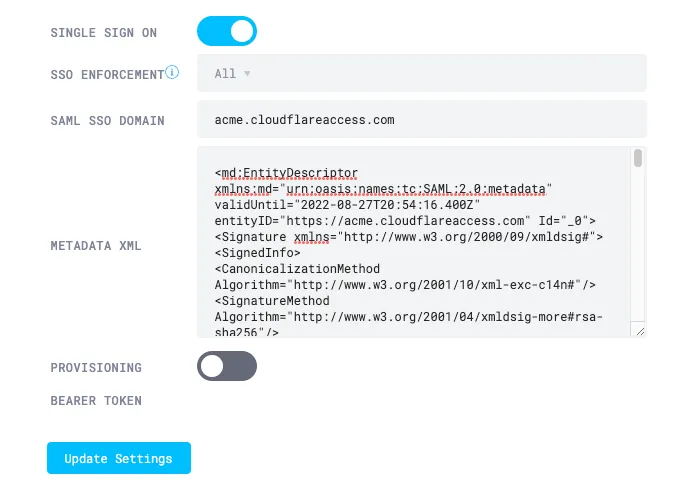
In your Area 1 portal ↗, go to Settings > SSO.
-
Turn on Single Sign On.
-
(Optional) To require users to sign in through Access, set SSO Enforcement to All. When SSO is enforced, users will no longer be able to sign in with their Area 1 credentials.
-
In SAML SSO Domain, enter
<your-team-name>.cloudflareaccess.com. -
Get your Metadata XML file:
-
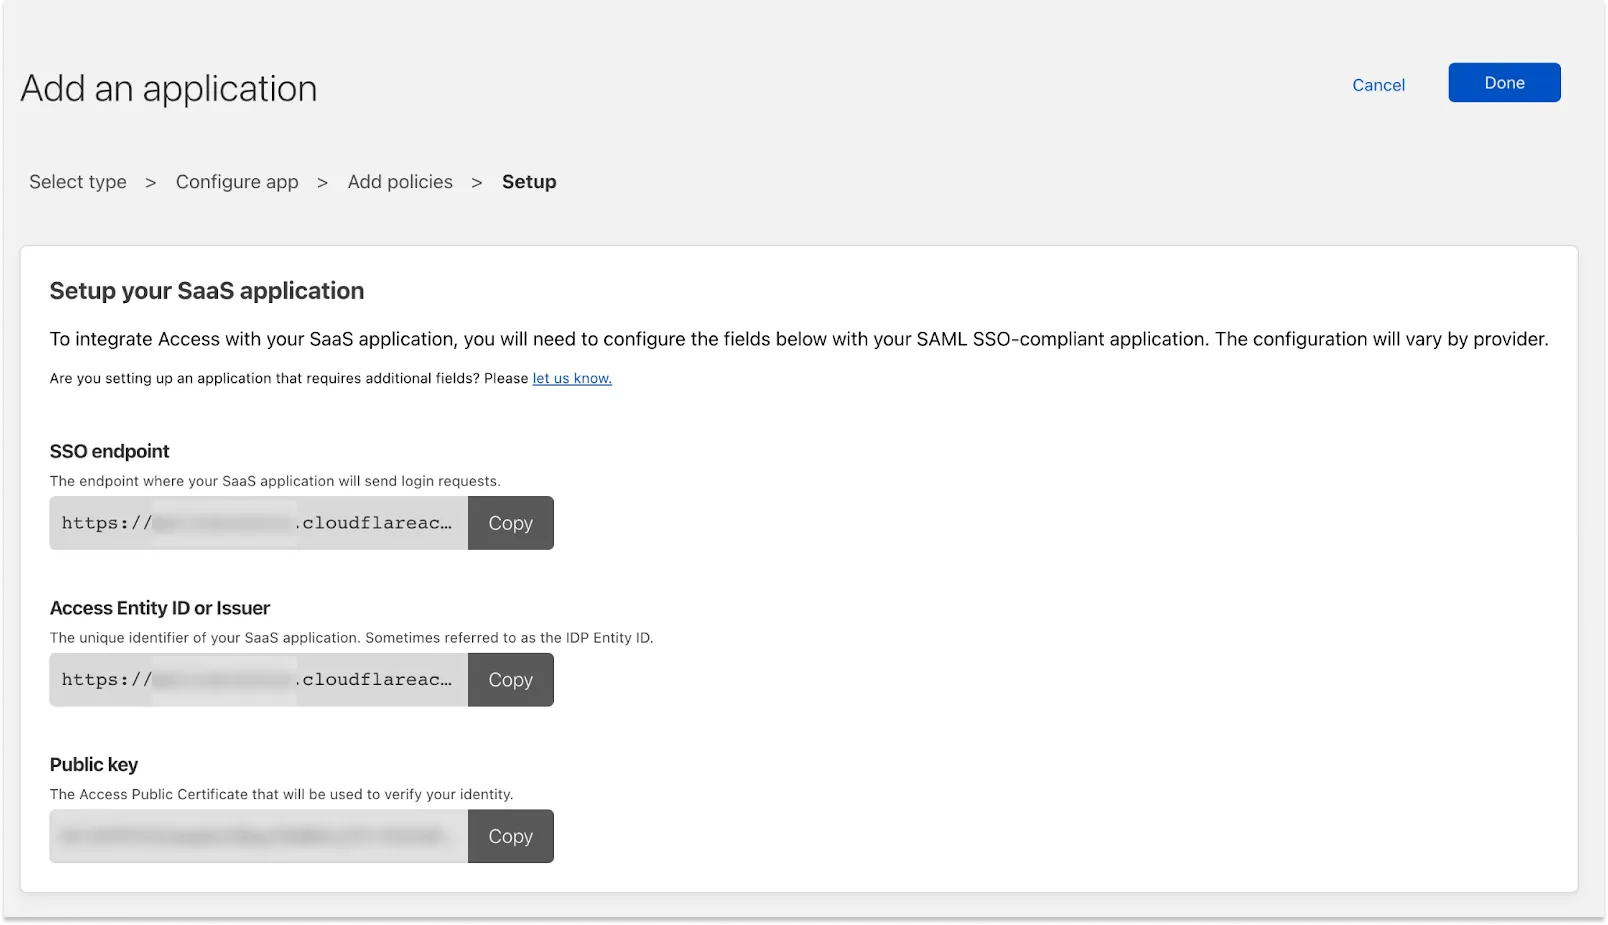
In Zero Trust, copy the SSO Endpoint for your application.

-
In a new browser tab, paste the SSO Endpoint and append
/saml-metadatato the end of the URL. For example,https://<your-team-name>.cloudflareaccess.com/cdn-cgi/access/sso/saml/<app-id>/saml-metadata. -
Copy the resulting metadata.
-
-
Return to the Area 1 portal and paste the metadata into Metadata XML.

-
Select Update Settings.
If you added the application to your App Launcher, you can test the integration by going to <your-team-name>.cloudflareaccess.com.